
Lightroom Workflow
In this entry we’re going to discuss my own personal Lightroom workflow and culling technique that I have develped and refined over many years. There are lots of ways to handle and approach the organization of many hundreds of images from a shoot and it can definitely be overwhelming, but if you find a system that makes sense to you and employ that system every time you import, the task gets far less daunting and dare I say fun! I speak from experience when I say that if you don’t establish a method of handling and processing those images you can quickly become overwhelmed and before long have thousands of rogue images scattered all over your hard drive(s).
My workflow begins with the import. I shoot in RAW and given I still have a standalone version of Lightroom 😎 I must first convert my images to DNG format and then can continue with the import process (I use Adobe's DNG Converter for this). After I have imported the DNG’s to my library which I organize by year and month and shoot-I then begin my culling process. Now everyone is different and what makes sense to me might seem bananas to you, but this might serve as a rough guideline that you can then tweak accordingly .
Before I begin let me say that my setup consists of 2 monitors, and I would highly recommend that you invest in this if you intend on getting into Lightroom or photography with any degree of seriousness. It increases your workflow drastically and to my knowledge any version of Lightroom 2 or higher makes use of a mult-montior setup. So that said, in the library module when I begin the culling process I have my primary monitor set to “Grid View” with my secondary set to “Live Loupe”

I would recommend having 2 monitors from the same manufacturer and with the same aspect ratio and refresh rate as images will render the same and make for the overall editing process easier. In my experiance you can also sometimes avoid the extra cost of monitor calibration as well.
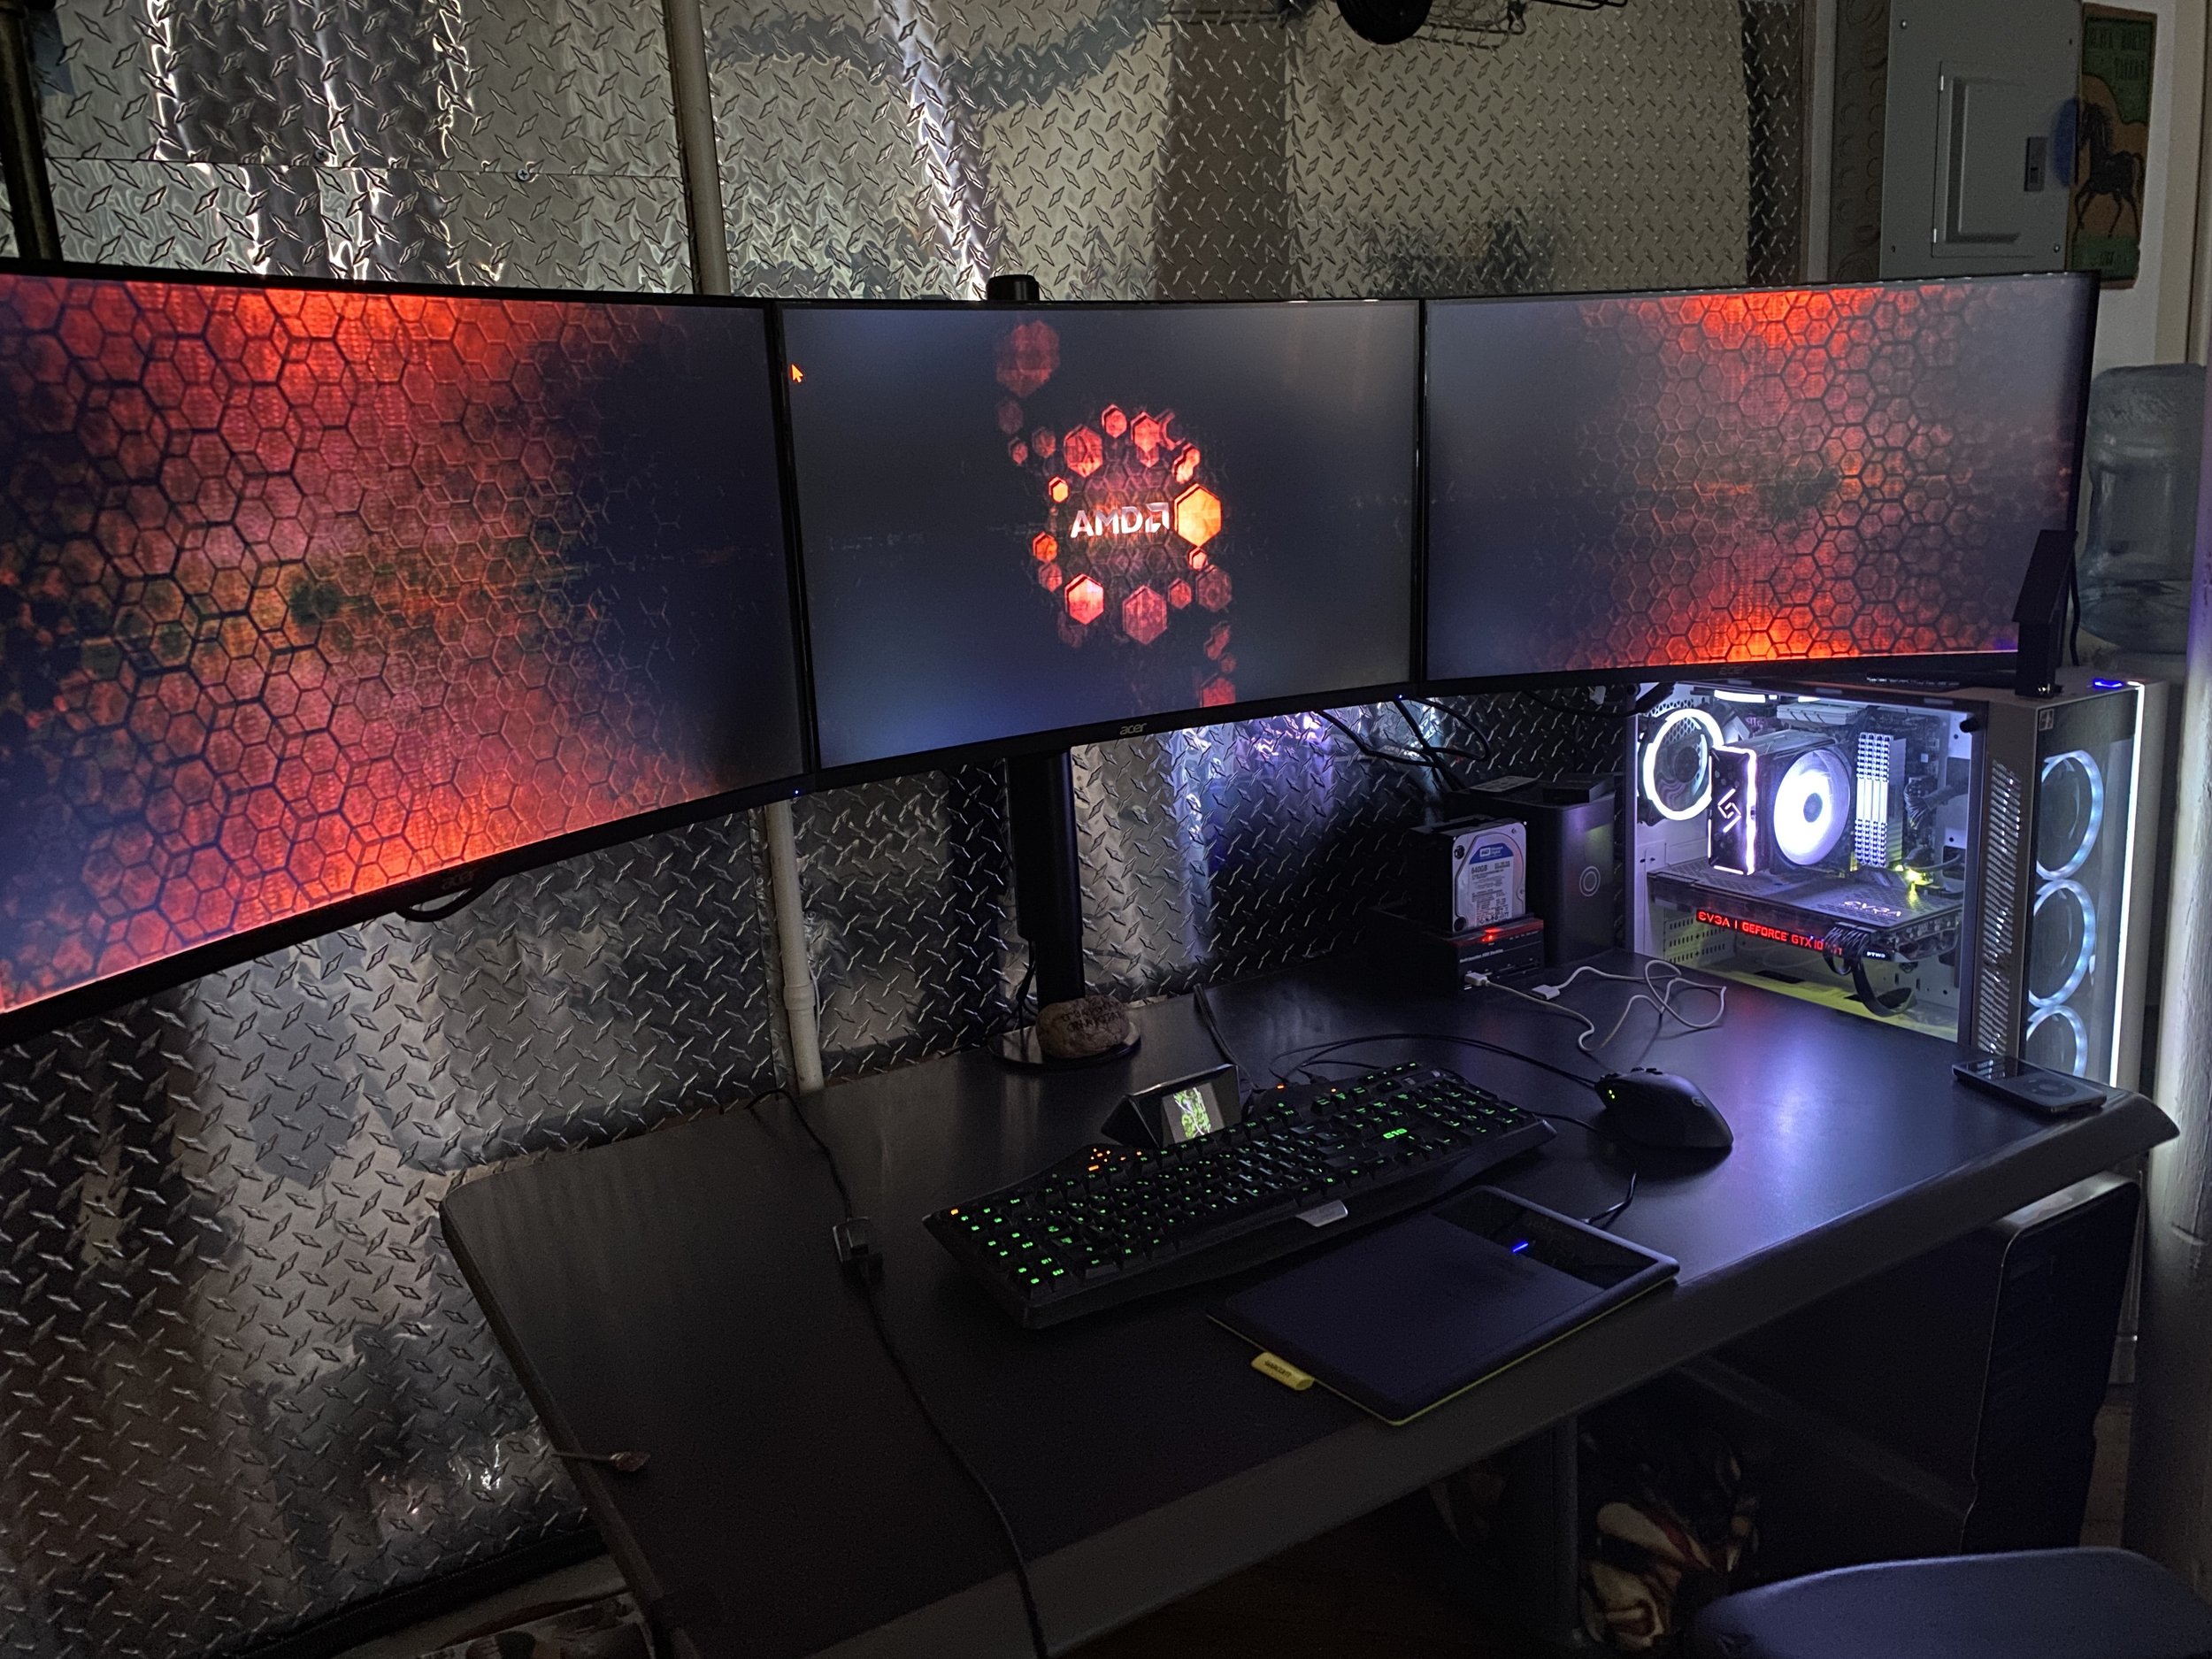
Pictured here is my 3 monitor setup supported by a rock solid EchoGear Monitor Stand for a clean workstation with minimal mess.
I equip the painter tool and set it to apply 1 stars and then just start hovering, looking, and spraying 1 stars on what will be kept for post processing. By doing this I am able to just run the mouse over my main grid and with “live view” enabled instantly see a full size version of the picture in question on my left monitor and can quickly decide yay or nay. The yay’s get 1 star and the nays nothing and for images that really tickly my fancy-I flag which also indicates I’d like to keep the RAW versions! This method allows me to quickly blow through a shoot with 300+ images within 10 minutes. Once I am done, I then use the attributes tab to sort the images and display all shots with 0 stars (and don’t forget to select no flags so as not to delete your selected RAWS that you want to keep!) and and then delete all those images leaving you with only 1 stars and whatever flagged images you chose. Now you are ready for the Develop process, but that will def be for another day 😅
P.S. Here is a link to my personal ONE Note refrence sheet that I created. It is the culmination of many years of refinements and is loaded with a wealth of information and shortcuts. It also goes into much more detail about my various approaches and systems for the import and develp process withing Lightroom.