Building an Exposure

Bold statement incoming: You’ll never truly understand light until you’ve learned how to manipulate strobes.
Although the above statement may be a little controversial amongst the photographic community it’s by no means a shot against natural light photographers who certainly do have a fundamental understanding of light; I write that statement (and stick by it) because it was only after opening my studio and shooting in a controlled environment did I truly began to grasp light and its many subtilties. And in learning those subtilties one learns how little it takes to manipulate and change light to your desire. How the changing of the key light by a few degrees can give you that beautiful Rembrandt Lighting you desire, or how by turning down the flash compensation to achieve more shadows produces a much more dramatic portrait. And one quickly learns the integral relationship between distance and the harshness (or softness) of light. Lastly I make the above statement chiefly because of one’s ability to re-create lighting scenarios in a controlled environment and thereby learn from it in a way you just can’t in ever-changing natural light.

Shooting in a controlled environment really allows one to study light and how making little changes in power output and placement can change the entire look and feel of your work.
In setting out to achieve a good studio portrait I first reach for one of my primes (feel free to read my article The Perfect Trifecta for more on that) with the distance of the subject determining which focal length I grab-but usually my beloved 85mm 1.4D is the move. Once you have your desired focal length it’s time to set your lights. For most circumstances I shoot with a traditional 3 light setup consisting of a key light (usually camera left), fill through a white umbrella to camera right, and a bare bulb kicker/hair light at 2 o’clock to the subject to provide separation. Once the lights are on their stands and physically in place the fun begins, and I begin to build my exposure!
The Process


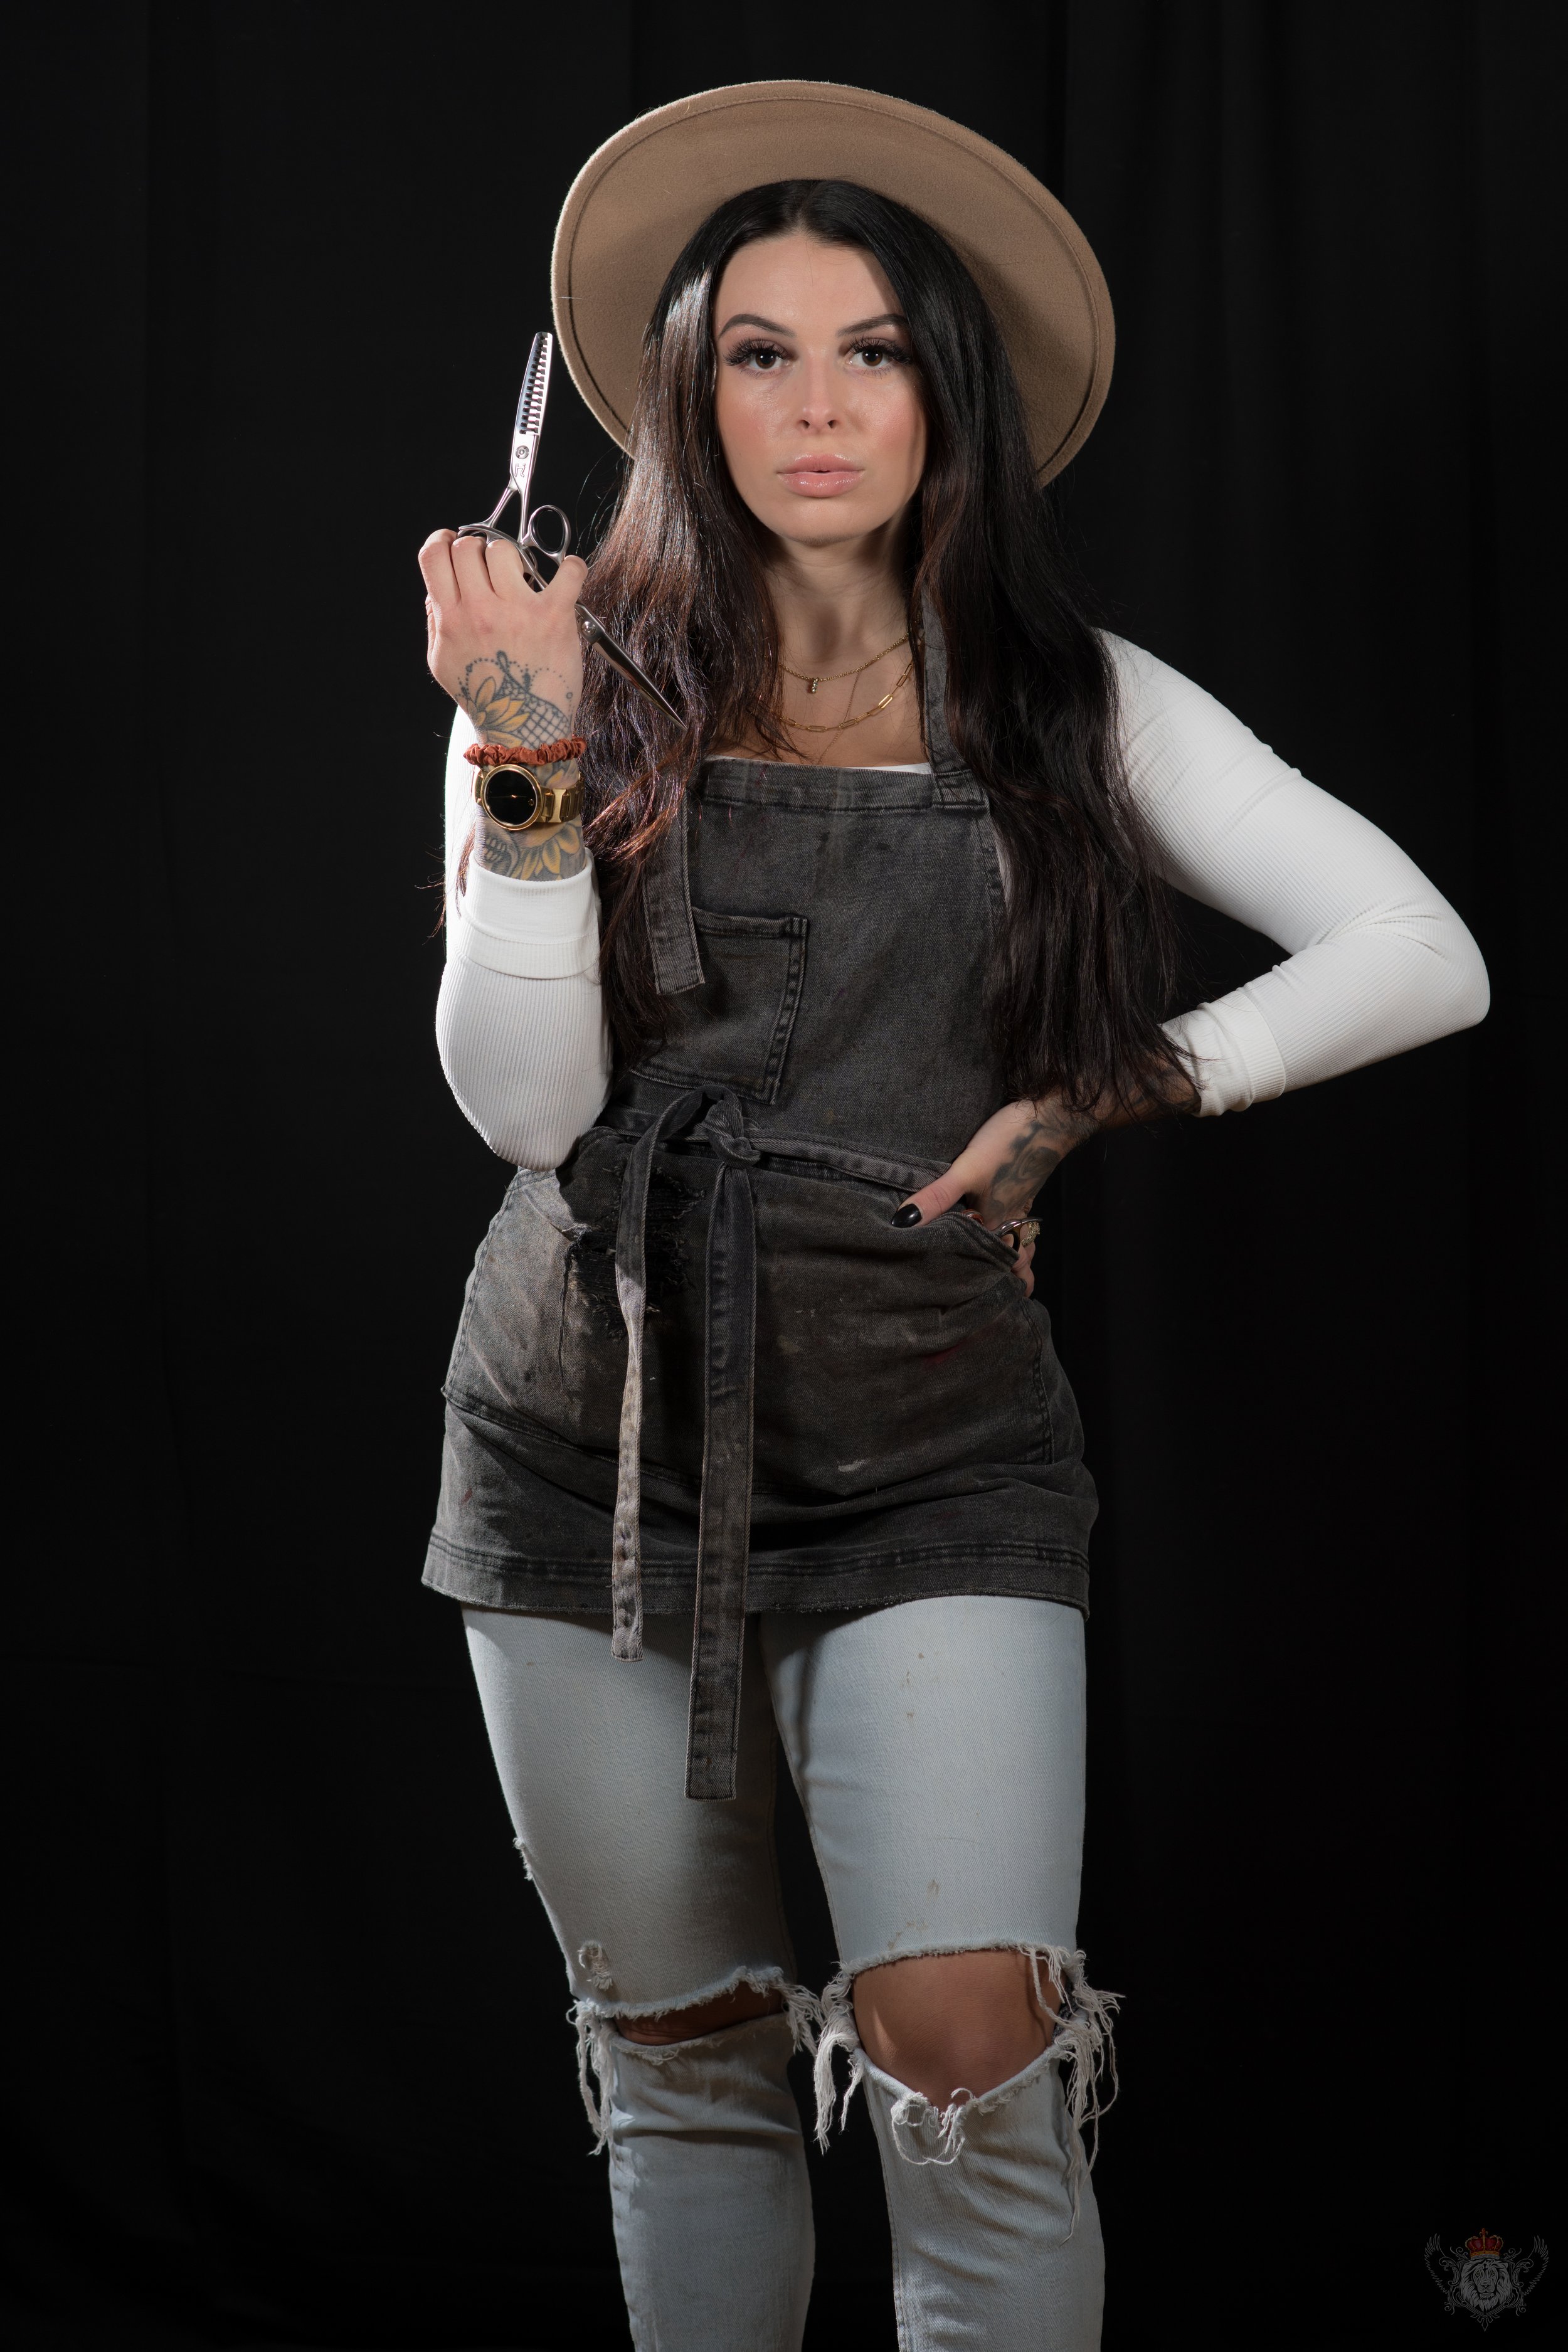
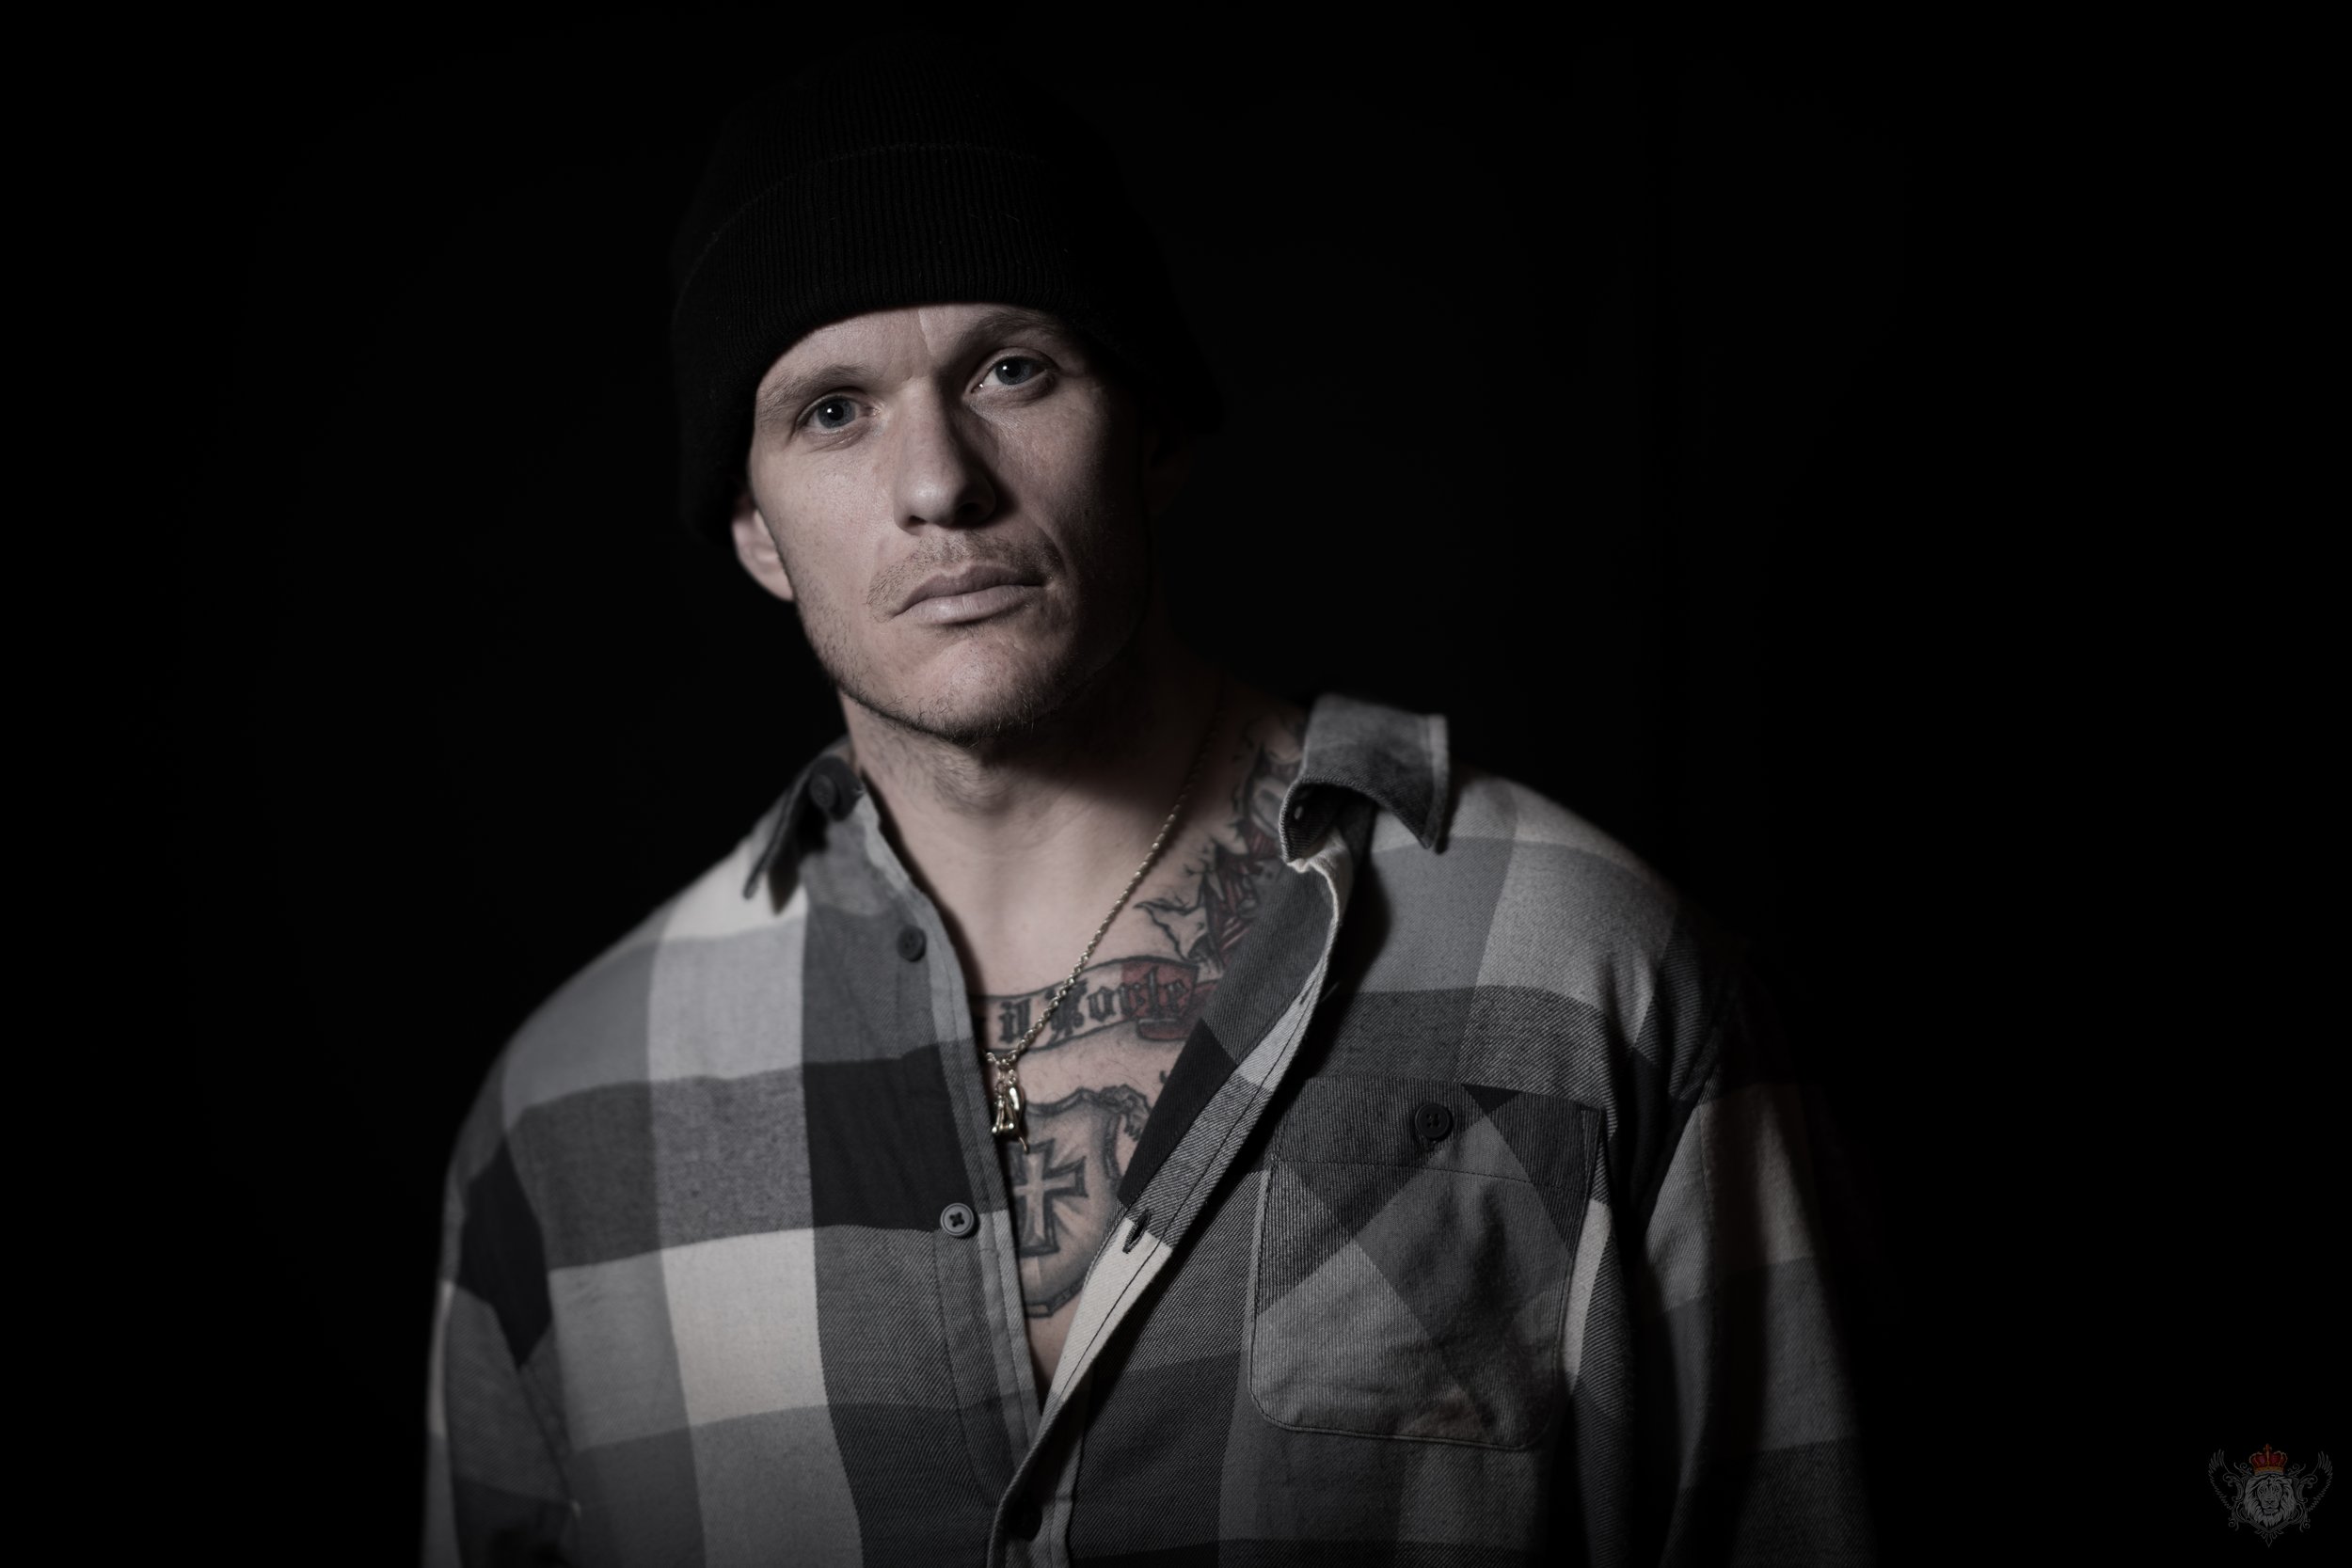
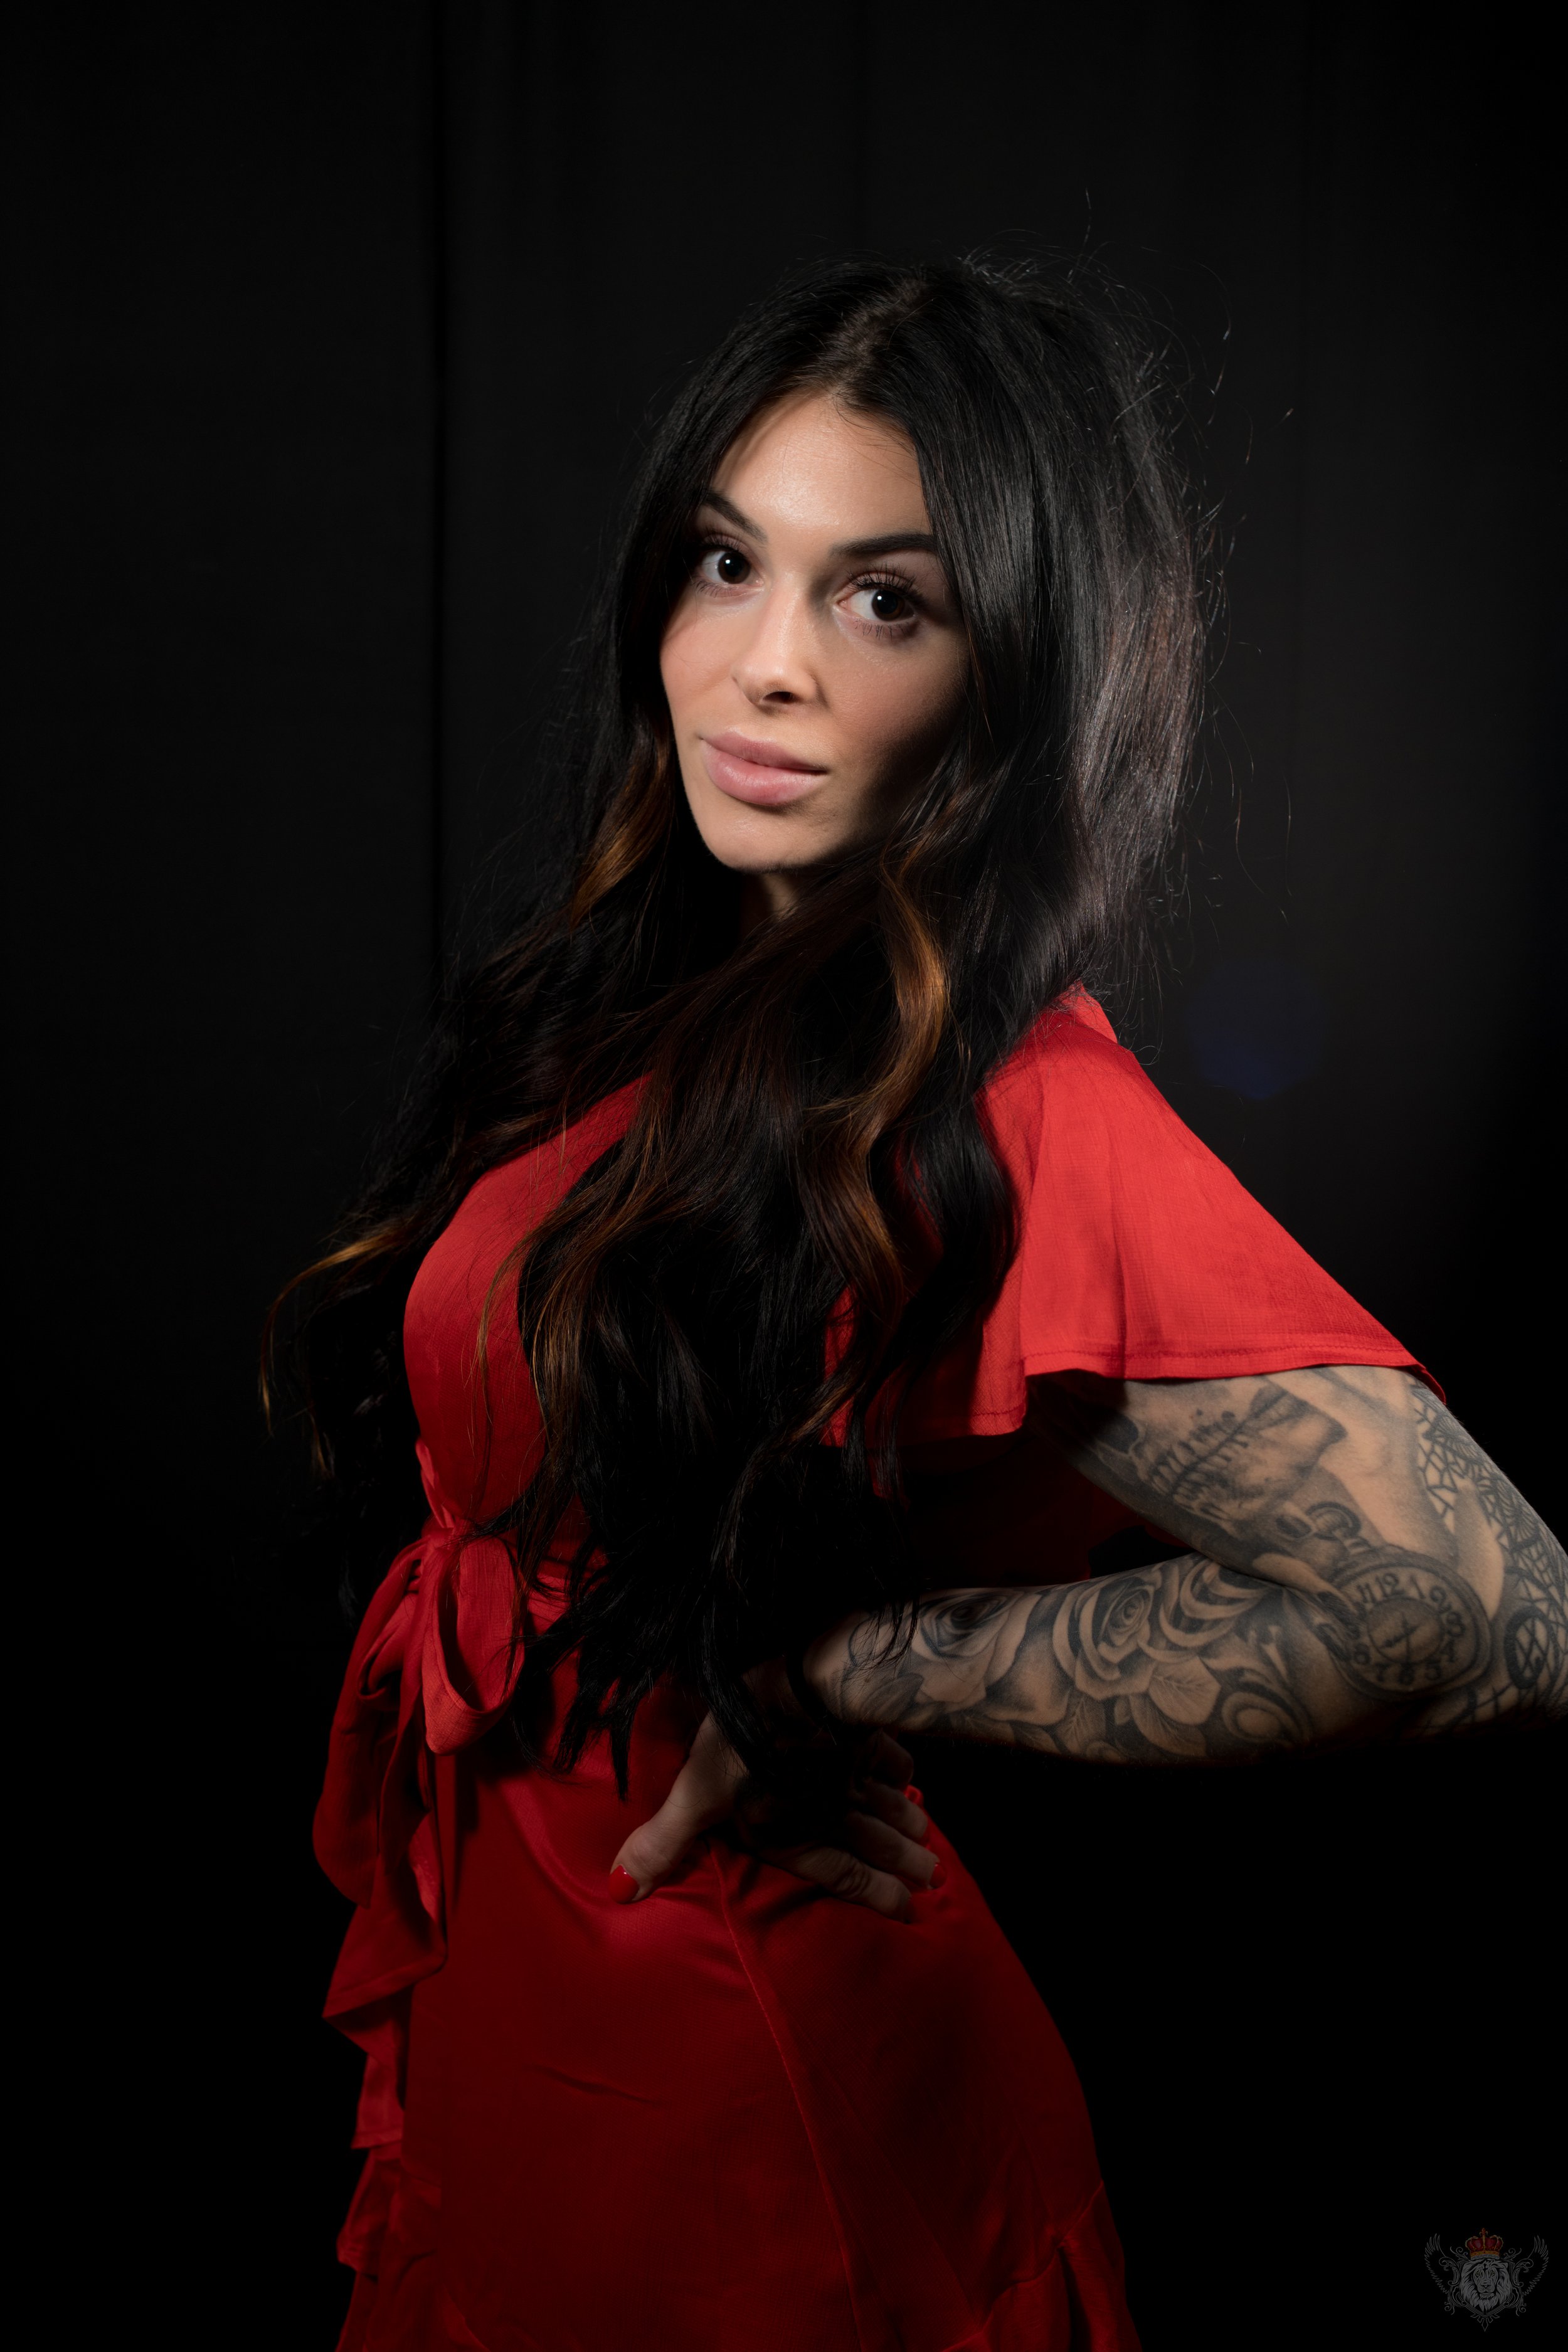
In Image 1a/1b we begin by framing the subject accordingly and then syncing up our flashes by taking a calibration shot which for Nikon would be something like f/5.6 and shutter @ 1/125’th. After that we move onto Image 2 and dialing in our key light. As you can see the first shot is too dark so now we know we must turn up the key. In Image 3 we achieve proper exposure with both the key light and fill light using a lighting ratio of approximately 2:1 (with the main light being at around 1/2 power and the kicker being half that at 1/4 give or take) and we also introduce the rim light or kicker. Then finally in Image 4 as you can see all the lights are dialed in with the power outputs adjusted up or down slightly to achieve what I would consider proper exposure. I am over-simplifying things here but you get the idea. We build and exposure 1 light at a time-key, fill, kicker.


Again, we repeat the procedure above to achieve a similar exposure that is a little more evened out. Step 1 dial in settings to kill ambient & sync flashes (1/125’th for Nikon). Step 2 introduce Key light and dial in power (I usually start with 1/8 power and go up or down from there). Step 3 we bring in our fill and dial that in to fill the shadows on the opposite side of the face to taste. Step 4 we fire up our kicker/rim light to highlight the hair and get some separation. This is especially important on dark a background where our subject can really fade into black. Be especially careful of placement with this strobe-if the angle is too severe you will get flare in the lens which can degrade image quality and sharpness (unless that is the desired look you’re going for). On this light I use no modifier and let the harsh light hit the backside of the hair at a sharp angle. When it’s all said and done you usually end up with a lighting ratio of something like 2:1:2 for the main, fill, and kicker; but keep in mind all of this is subject to light placement and distance. The golden rule of the closer the light source the softer the light is as applicable as ever in the studio environment and minimal changes make big impacts on the final result. And with that therein lies my assertion of using strobes and flash in a controlled environment to truly understand light, and how it dances and moves with the slightest changes.


When you’re able to setup a controlled environment and create and manipulate your own light you can really learn and grow as a photographer because you control the change not the weather. That simple fact makes all the difference in the world when trying to learn and understand light. Keep in mind as you practice and experiment though that when using strobes shutter speed does not affect the brightness of your flashes and how much light they throw on your subject-only aperture/ISO does and only when in manual mode! Many do not realize that when in TTL mode the camera will just adjust the power of the flashes accordingly based on your ISO and the size of your aperture i.e., larger f number (smaller lens opening) equaling less light in and a more powerful pop from our flash units. This can have an adverse effect on battery life, recharge times, and not to mention our model’s eyes lol.
So, in closing keeping the basic tenants of exposure in mind you can take a shot, study it, analyze it, and adjust your settings and shoot again! Wash rinse and repeat this process until you achieve the desired look you are going for; and in time you’ll be able to take what you’ve learned in the studio environment outside; and you’ll be looking at the world and all its light in a whole new way.
~A.J.S