The Art of the Portrait-a condensed exploration of light in the studio environment
For a long time I like others in the craft considered myself a “natural light photographer” bemoaning the use of flash or other “artificial means of light” in some type of way that always felt somewhat snobbish, but in reality I (and would venture to say like many) did not understand the many nuances and intricacies of a flash gun. Between the terminology and fancy fractions-1/1 power to 1/64’th, i-TTL, e-TTL, AA mode, BL mode, commander, slave etc.-it’s A LOT TO TAKE IN! And that’s all before taking into the various ways of triggering and controlling these little units, whether it be Nikon’s propriety Creative Lighting System or very capable radio triggers by Pocket Wizard, it really is a lot to ingest. But like many things in life-we crawl before we walk-and walk before we run!

“When there are big windows nearby and soft diffused light floods a room, flash is the last thing on my mind.”
👈 Shot at 1/60’th @ f/5.6 with the Nikkor 35mm f/2D lens-natural light.
And thanks to the likes of people like the venerated Joe McNally and Joel Grimes along with websites like The Strobist by David Hobby you can go from a run to a full out sprint. These individuals are wealth’s of knowledge regarding light, and once you begin to peel off the layers of the onion things get simpler and simpler. Now don’t get me wrong, when there are big windows nearby and soft diffused light floods a room, the flash is the last thing on my mind. But when I find myself absent of my beloved 15ft tall windows in my studio, I’m quick to reach for my SB-800 placed in commander mode to trigger my SB-900 as a key, with an SB-600 kicker for good measure 😎. And that is a simple 2 or 3 light setup that you can have going within minutes once you understand the process which I have taken the liberty of condensing below.
Mount either a SB-900 or 800 unit to your camera’s hot shoe (yes there are many other newer options from the likes of GODOX and what not, but I’m a Nikon purist and a big believer in using these older units that can not only be had for a SIGNIFICANT savings, but also still work amazingly well.
Next mount an 900,800, or 600 unit (note. SB-600s can only receive signals not act as commanders) to a light stand and diffuse with your choice of umbrella or softbox. Set this flash unit to receive mode and put in Channel 1/Group A. If using another unit for a 3rd light to act as a kicker or hair light that unit will also be Channel 1 but now Group B (unless you’d like to adjust it’s power independent of the others.
Now with your SB 9 or 800 acting as a commander and your others set to receive we’re ready to play with light with it’s endless forms shapes and shadows! A good rule of thumb is the main light to 8 o’clock (always imagine the camera @the 6 o'clock spot so camera left) with the fill to 4 o'clock (camera right) and your hair/kicker light at 12 o’clock behind your model. Make sure your subject is at least 2 feet away from black background so that it disappears and dial in @1/125’th to kill ambient and f/5.6.
Now it’s just a matter of playing with the power of the individual lights to achieve the look that you are going for. Shoot. Check. Adjust. Repeat.
The Above is a tried and true method of light placement that is simple to execute and gives you a classic studio portrait look. Typically you’ll want to shoot at f/5.6 to f/8 with ISO 200 and 400 respectively in order to keep the entirety of your subject in focus but this will vary depending on artistic intent (i.e. shooting at f/2.8 and wider to draw focus on eyes etc.).
Now I personally shoot in i-TTL mode almost exclusively and then just ride my FEC (flash exposure compensation) to make a global change and either brink up or down the power of all my flash units once they are dialed in via - or + changes to the individual flash power like discussed above. Note that full manual is a viable option and that there is nothing wrong with that approach as it will absolutely give you a consistent and predictable output at the expense of taking double to triple the time to get things dialed in. So, at the end the choice is yours-no wrong answers-all roads lead to the same destination of perfect-exposureville.

Now the aforementioned techniques are great for achieving a will rounded and evenly lit subject, but once you learn the rules it’s time to break them and start exploring the world of shadows and drama 🤘
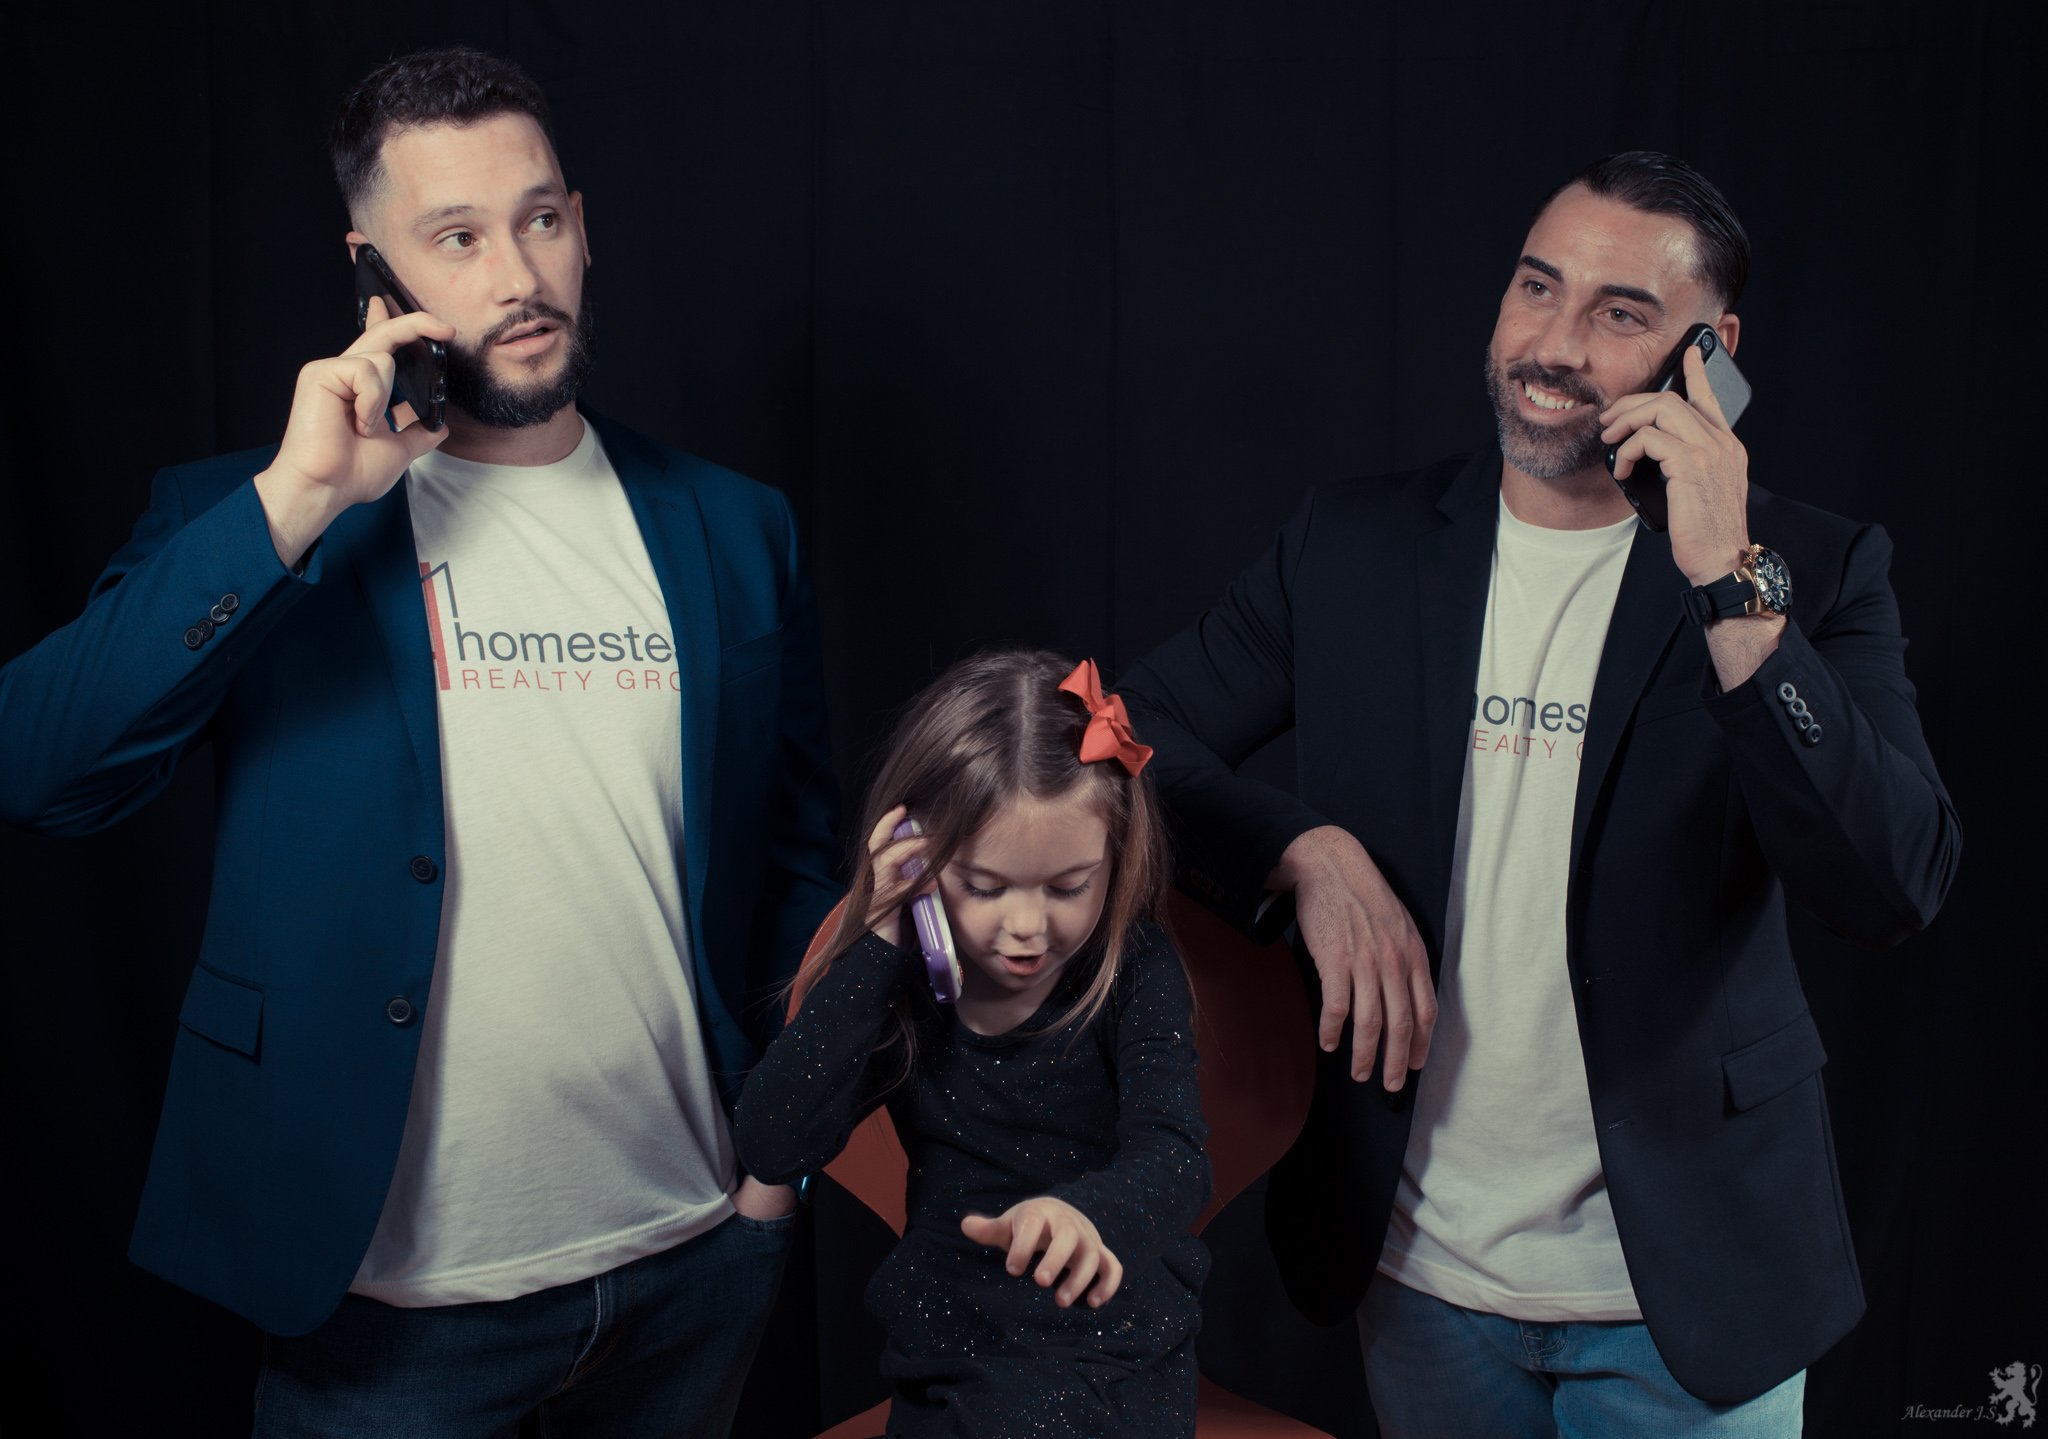
Standard 3 light setup with this candid. Nikon SB-900 for the key @ 4 o’clock position, SB-800 for kicker at 8, and a SB-600 for some fill at the 6 👌
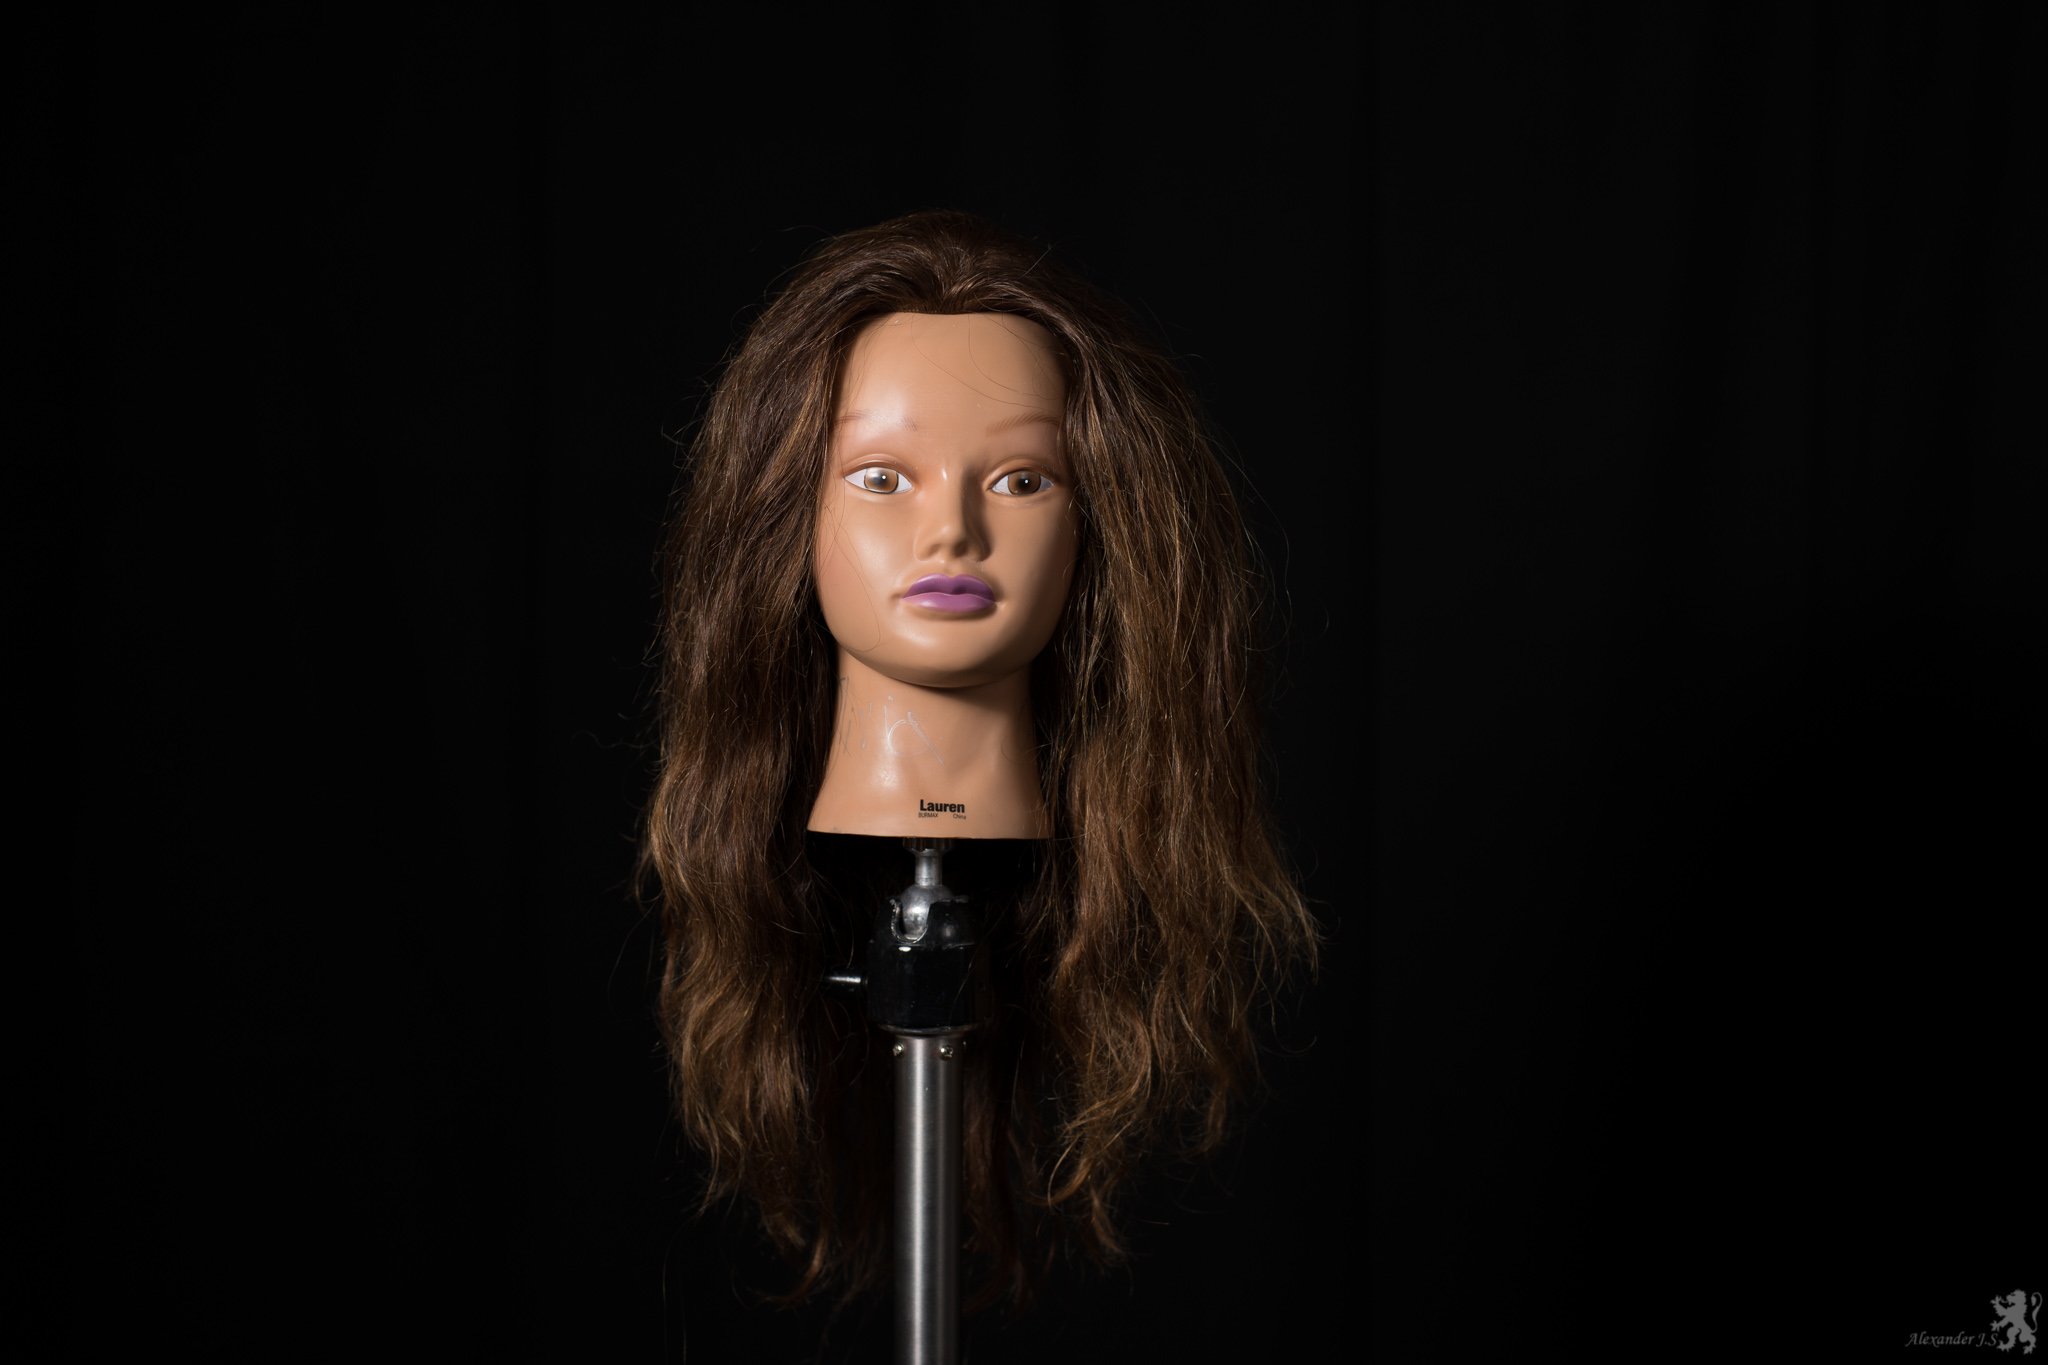
I know it’s cruel, but now that you’re comfortable with your commander light triggering your key light, fill, and kicker; get rid of them! It’s time to get artistic and play with shadows and directional light; and we start this by moving our subject away from our black background by 2 or so feet and giving directional light in the form of Split Lighting or Rembrandt.

By making sure to kill all ambient light with a low ISO and a moderate shutter you’re able to take control and create the lighting needed to complete your vision. This artistic composition was shot at 1/125’th @f/8. SB-800 mounted on D850 in commander mode triggering SB-900 in TTL with exposure comp. dialed down -2EV. I like to place my key at a high angle at 8 o’clock shooting down as seen here. But by slightly shifting to the 9 o’clock position we achieve dramatic split lighting. Keep in mind when working with 1 light little changes make big differences!

Depending on the angle and power of your key light you can create many different dramatic effects-all of which are relatively easy to create. At the end of the day, it just comes down to getting your gear out and playing around. Cheers!
Further Reading and Resources from some amazing shooters